
Thailand’s abundant sunshine makes it an ideal location for generating clean energy at home. As electricity bills rise and environmental awareness grows, many homeowners are turning to photovoltaic (PV) systems to power their daily lives. The process of moving to solar energy involves several distinct stages, from initial assessment to the final grid connection. Understanding these steps helps ensure a smooth transition to renewable power.
Before making any commitments, you need to understand your energy consumption. Review your electricity bills from the past year to determine your average monthly usage. This data is essential for sizing the system correctly. A system that is too small won’t provide enough savings, while one that is too large might generate excess power that goes to waste if you don’t have a battery storage solution. Once you know your needs, you can begin researching reputable professionals. A quick search for “solar installers near me” will often bring up local experts who understand the specific requirements for your region in Thailand.
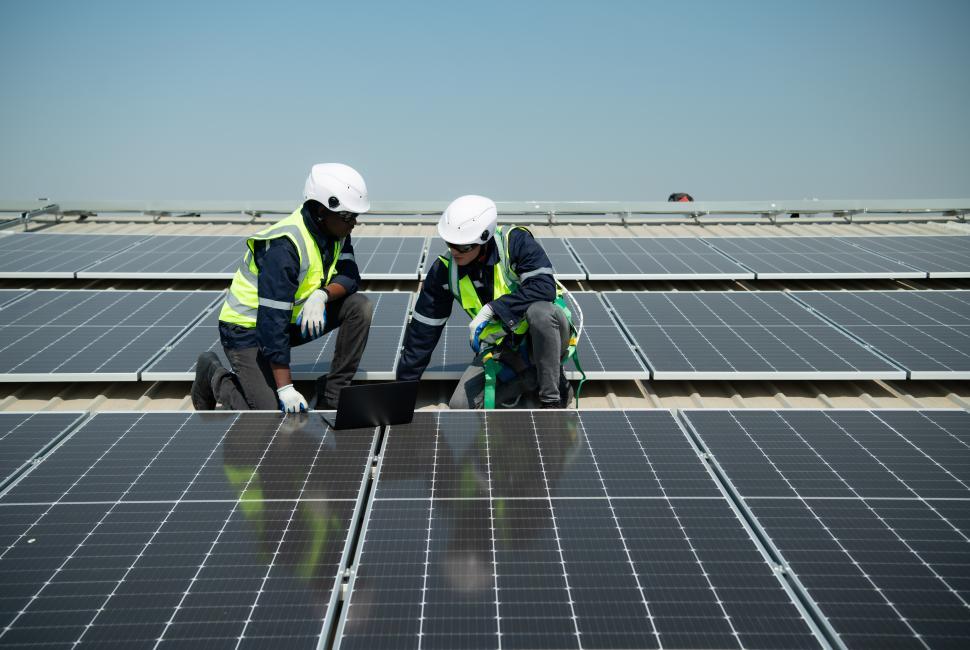
The next phase involves a physical site survey. Technicians will visit your property to inspect the roof’s condition, orientation, and shading. In Thailand, south-facing roofs generally receive the most sunlight throughout the day, but east or west orientations can also be effective depending on when you use the most electricity. The roof structure must be strong enough to support the weight of the panels and mounting equipment. If your roof requires repairs, these must be completed before installation begins.
Once the design is finalised, the permitting process begins. This is a crucial step in Thailand, involving specific regulatory bodies. Depending on your location, you will need approval from either the Metropolitan Electricity Authority (MEA) for Bangkok and surrounding areas, or the Provincial Electricity Authority (PEA) for the rest of the country. Additionally, you must register with the Energy Regulatory Commission (ERC). This administrative work ensures your system meets safety standards and is legally compliant. While this paperwork can be complex, professional installation teams typically handle these applications on your behalf.
Installation day is when the physical work takes place. This usually takes one to three days for a standard residential system. The team will install racking systems to hold the panels securely, followed by the panels themselves. They will then install the inverter, which converts the DC electricity generated by the panels into the AC electricity used in your home. All wiring is connected, and safety switches are put in place.
The final step is the grid connection and inspection. After installation, officials from the MEA or PEA will inspect the system to verify it matches the approved design and safety regulations. Once approved, they will change your electricity meter to a digital or smart meter capable of tracking energy import and export. Only then can you officially switch on your system and begin generating your own power.
Regular maintenance is straightforward but necessary. Thailand’s tropical climate means dust and debris can accumulate, potentially reducing efficiency. Cleaning the panels with water and a soft brush a few times a year helps maintain optimal performance. With proper care, a solar rooftop system can provide clean energy for 25 years or more.
Comments are closed.